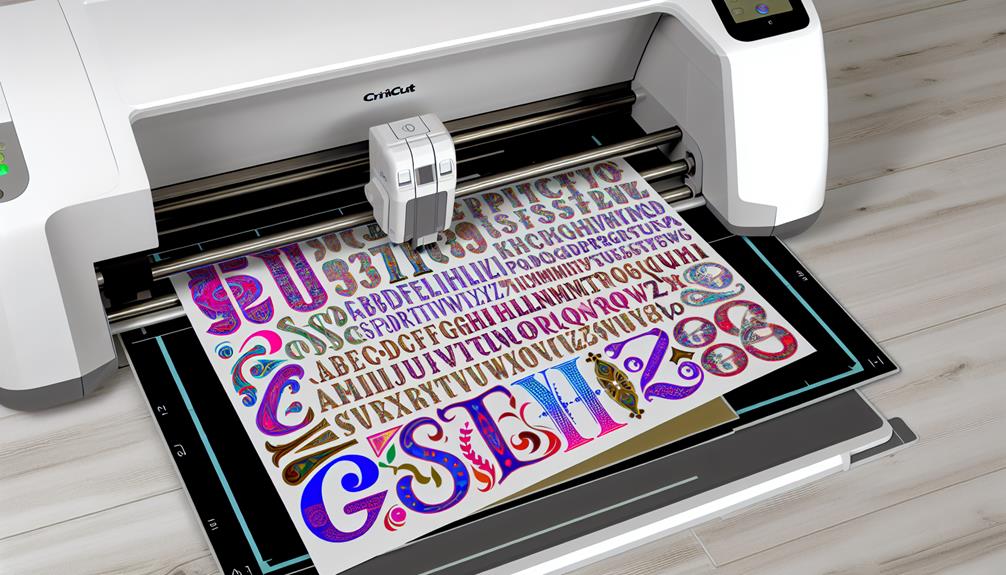
Unleash Your Creativity: Mastering Cricut Font Uploads
Are you tired of using the same old fonts in your Cricut projects and want to know how to make Cricut Font Uploads? Well, get ready to take your creativity to the next level because we have a solution for you.
Imagine being able to upload any font you want to Cricut Design Space and use it to create stunning and personalized designs.
In this article, we will show you the step-by-step process of mastering Cricut font uploads, allowing you to unlock a world of endless possibilities.
So, are you ready to transform your Cricut projects and leave a lasting impression?

Importance of Uploading Fonts to Cricut
Why is it crucial to upload fonts to Cricut Design Space?
Well, let me tell you. Uploading fonts to Cricut Design Space is essential because it allows you to personalize your projects and make them truly unique. By having access to a wide range of fonts, you can add your personal touch to everything you create with your Cricut machine.
Whether you’re making cards, home decor, or even personalized gifts, the font you choose can make all the difference. Uploading fonts to Cricut Design Space opens up a whole new world of possibilities for your creativity.
Step-by-Step Instructions for Cricut Font Uploads
To begin the process of uploading fonts to Cricut Design Space, you’ll need to download the desired font onto your computer or device. Here are the step-by-step instructions for uploading fonts:
- Step 1: Downloading a Font
- Find a trusted website or platform that offers the font you want.
- Download the font file onto your computer or device.
- Step 2: Uploading Fonts to Cricut Design Space
- Open Cricut Design Space and log in to your account.
- Click on the ‘New Project’ button to start a new project.
- Step 2a: Uploading Fonts to Cricut Design Space in Windows 10
- Click on the ‘Text’ button in the Design Panel.
- Select the font option and click on ‘System Fonts’.
- Step 2b: Uploading Fonts to Cricut Design Space on Mac OS X
- Click on the ‘Text’ button in the Design Panel.
- Select the font option and click on ‘System Fonts’.
Follow these steps to easily upload fonts and unlock your creativity with Cricut Design Space.
Downloading Fonts for Cricut
To download fonts for Cricut, simply follow these easy steps after you have completed the process of uploading fonts to Cricut Design Space.
- First, open your web browser and visit a font website such as dafont.com or fontspace.com.
- Browse through the font collection and choose the one you like.
- Click on the download button to save the font file to your computer.
- Once the download is complete, locate the font file in your downloads folder.
- Right-click on the file and select ‘Install’ or ‘Install for all users’ to add the font to your computer’s font library.
- Now, when you open Cricut Design Space, the downloaded font will be available for you to use in your projects.
Enjoy experimenting with different fonts and let your creativity shine!
Uploading Fonts on Windows 10
To upload fonts on Windows 10, you can follow these simple steps:
- Download the font file: Find a font that you want to upload to Cricut Design Space and download it onto your computer. Make sure to remember the location where the file is saved.
- Locate the font file: Open File Explorer and navigate to the folder where the font file is saved.
- Install the font: Right-click on the font file and select ‘Install’ from the context menu. This will install the font onto your computer.
- Refresh Cricut Design Space: After installing the font, refresh Cricut Design Space by closing and reopening the application. The newly installed font should now be available for use in your projects.
Uploading Fonts on Mac OS X
After successfully uploading fonts on Windows 10, it’s now time to explore the process of uploading fonts on Mac OS X.
Uploading fonts on Mac OS X is a straightforward process that will enable you to use your favorite fonts in Cricut Design Space. To begin, you need to download the font you want to use and save it to your computer.
Then, open Cricut Design Space and select ‘Upload’ from the left-hand panel. Click on ‘Upload Image’ and choose the font file from your computer.
Once the font is uploaded, you can select it from the ‘Recently Uploaded Fonts’ section and start using it in your designs.
With these simple steps, you’ll be able to unleash your creativity and take your Cricut projects to the next level on your Mac OS X device.
Uploading Fonts on Ios 11 or Higher
Uploading fonts on iOS 11 or higher is a simple and convenient process that allows you to access a wide variety of fonts in Cricut Design Space. Here’s how you can do it:
- Install a font management app on your iOS device, such as AnyFont or iFont.
- Download the font you want to use from a trusted source or transfer it to your device using AirDrop or email.
- Open the font management app and import the font file.
- Once the font is imported, go to Cricut Design Space and open a new or existing project. The uploaded font should now appear in the font selection menu.
Troubleshooting and Support for Font Uploads
If you encounter any issues with uploading fonts to Cricut Design Space, there are troubleshooting steps and support available to help you resolve them. Here are some ways to troubleshoot and get the support you need:
- Check your font file: Make sure the font file you’re trying to upload is compatible with Cricut Design Space. If it’s not, you may need to convert the file or find an alternative font.
- Clear your cache: Sometimes, clearing your browser cache can resolve issues with font uploads. Try clearing your cache and then attempt to upload the font again.
- Check for updates: Ensure that you have the latest version of Cricut Design Space installed. Updates often include bug fixes and improvements that can help with font uploads.
- Contact Cricut support: If you’ve tried troubleshooting on your own and still can’t upload fonts, reach out to Cricut support for assistance. They’ve a team of experts who can help you resolve any issues you may be experiencing.
Cricut Font Uploads – Frequently Asked Questions
Can I Upload Fonts to Cricut Design Space From Any Device?
Yes, you can upload fonts to Cricut Design Space from any device. The step-by-step instructions provided in this tutorial will guide you through the process of uploading fonts on Windows, Mac, iOS, and more.
Are There Any Limitations on the Number of Fonts I Can Upload to Cricut Design Space?
There are no limitations on the number of fonts you can upload to Cricut Design Space. You can upload as many fonts as you want to unleash your creativity and personalize your projects.
Can I Use Uploaded Fonts in Any Cricut Project or Are There Specific Limitations?
Yes, you can use uploaded fonts in any Cricut project. There are no specific limitations. Unleash your creativity and personalize your designs with the fonts you love. Have fun exploring different styles!
Do I Need to Have a Cricut Access Subscription to Upload Fonts to Cricut Design Space?
No, you do not need a Cricut Access subscription to upload fonts to Cricut Design Space. You can upload your own fonts and use them in your projects without any additional subscription.
Can I Upload Fonts to Cricut Design Space if I’m Using a Different Cutting Machine Brand?
Yes, you can upload fonts to Cricut Design Space even if you’re using a different cutting machine brand. Cricut Design Space allows you to upload and use your own fonts for your creative projects.
So there you have it!
Now that you know how to upload fonts to Cricut Design Space, you can unleash your creativity and create amazing personalized designs.
Whether you’re using Windows 10, Mac OS X, or iOS 11 or higher, we’ve provided step-by-step instructions to guide you through the process.
And don’t forget, if you encounter any issues, we’ve troubleshooting tips and support available.
Get ready to dive into the world of Cricut Font Uploads and let your imagination run wild!


