Discover the Ultimate Guide to Sublimating Coasters
Are you aware that sublimating coasters has become a popular trend among crafters and DIY enthusiasts? With its ability to transform ordinary coasters into personalized works of art, it’s no wonder that more and more people are embracing this technique.
But how exactly does sublimation work, and what are the secrets to achieving flawless results? In this discussion, we will explore the ultimate guide to sublimating coasters, uncovering the essential materials, step-by-step instructions, and expert tips that will take your creations to the next level.
So, if you’re ready to unlock the secrets of sublimation and elevate your crafting skills, keep reading to discover all that this guide has to offer.

Materials and Tools
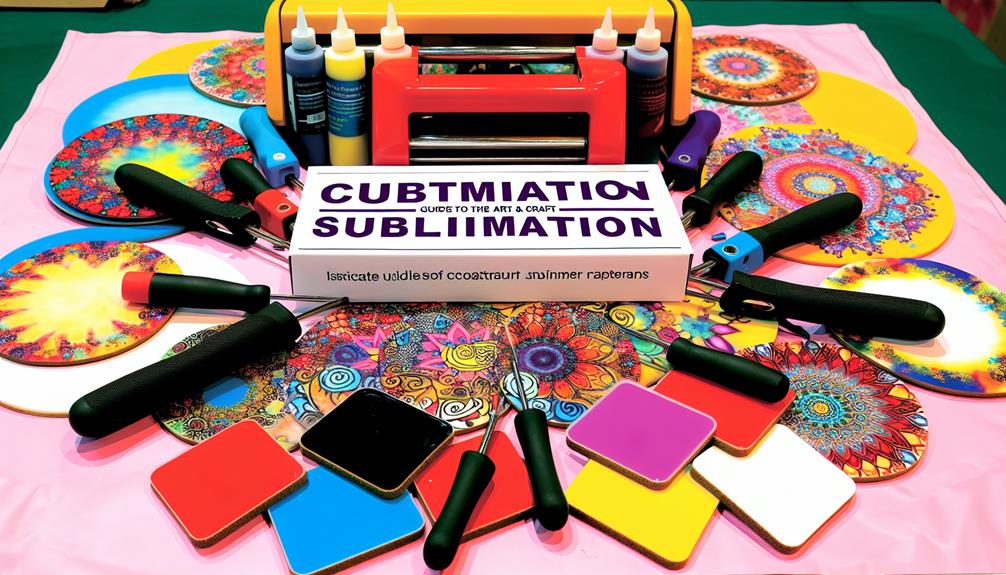
To begin the process of sublimating your coasters, gather the necessary materials and tools. You’ll need:
- MDF sublimation coasters
- Neoprene sublimation coasters
- Cricut square and round ceramic infusible ink coasters
- A-Sub sublimation paper
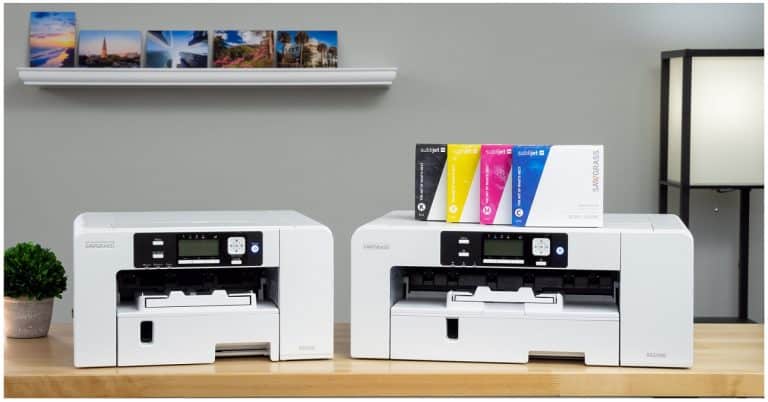
- A sublimation printer or printer converted for sublimation
- Sublimation ink
- A Cricut Maker 3 or compatible cutting machine
- A heat press or EasyPress
- A Cricut EasyPress Mat
Once you have all the materials and tools ready, you can proceed with the instructions for sublimating the coasters. It’s important to follow the recommended temperatures and press times for each material, as well as calibrate your cutting machine for precise cuts.
Additionally, using the Print Then Cut feature in Cricut Design Space and securing the designs on the coasters with heat-resistant tape will help achieve better results.
Instructions for Sublimating Coasters
Ready to sublimate your coasters? Here’s how to do it!
- Get the free coaster designs from JenniferMaker.com/562
- Prepare your designs using Cricut Design Space
- Print and cut your coaster designs
- Preheat your heat press or EasyPress
- Sublimate the coasters using the appropriate settings for each material
Tips for sublimating coasters:
- Calibrate your cutting machine for precise cuts
- Use the Print Then Cut feature in Cricut Design Space
- Resize the designs to fit your coaster blanks
- Use heat-resistant tape to secure the designs on the coasters
- Follow the recommended temperatures and press times for each material
Remember to properly prepare your designs, print them using the correct settings, and cut them accurately. Then, follow the instructions for sublimating each type of coaster material.
With these steps and tips, you’ll be able to create beautiful and personalized coasters for yourself or as gifts. Happy sublimating!
Tips for Sublimating Coasters
For better results when sublimating coasters, consider using a brayer and ensuring proper ventilation.
A brayer is a handy tool that can help secure your sublimation designs onto the coasters, preventing any shifting or smudging during the heat press process. It provides even pressure, ensuring a smooth and professional-looking result.
Proper ventilation is also crucial as it helps to remove any fumes or odors that may be produced during the sublimation process. This is especially important when working with sublimation ink, which can emit gases when heated.
Good ventilation won’t only help maintain a comfortable working environment but also prevent any potential health hazards.
Results and Recommendations
Neoprene car coasters with a white sublimation coating are recommended for optimal sublimation results.
Here are the results and recommendations to help you achieve the best outcome:
- MDF car coasters with a sublimation surface are durable but don’t bend.
- Cricut square coasters with cork backing are suitable for sublimation.
- Cricut round ceramic coasters work differently but can be used for sublimation.
- Proper ventilation and a brayer can help achieve better sublimation results.
- Calibrate your cutting machine for precise cuts.
Preparing for Printing and Cutting Coaster Designs
To prepare for printing and cutting coaster designs, follow these steps carefully:
- Select the correct machine and click ‘Make’ on the Prepare Screen.
- If prompted, choose the appropriate mat size and confirm it.
- Set the Print Then Cut mats paper size to 8.5 x 11 and turn on the Mirror toggle.
When it comes to printing coaster designs:
- Click ‘Send to Printer’ on the Make Screen.
- Select your sublimation printer from the dropdown menu.
- Turn on Add Bleed and Use System Dialog.
- Set the Media to Premium Photo Matte and Quality to Best.
- Ensure that the sublimation paper is loaded correctly.
For cutting coaster designs:
- Place the printed sublimation designs face up on a blue LightGrip machine mat.
- Secure them with a brayer and copy paper.
- Select the Light Cardstock – 65 lb setting with Default Pressure.
- Load the mat into the Cricut with a clean Fine-Point Blade.
- Press the flashing button to start cutting.
Printing Coaster Designs
Now let’s move on to the process of printing your coaster designs. To ensure a successful printing experience, follow these steps:
- Click ‘Send to Printer’ on the Make Screen.
- Select your sublimation printer from the dropdown menu.
- Turn on the Add Bleed and Use System Dialog options.
- Set the Media to Premium Photo Matte and Quality to Best.
- Make sure the sublimation paper is loaded correctly in the printer.
Cutting Coaster Designs
To cut your coaster designs, you’ll need to follow these steps.
First, place the printed sublimation designs face up on a blue LightGrip machine mat. Make sure to secure the print to the mat with a brayer and copy paper.
Then, select the Light Cardstock – 65 lb setting with Default Pressure on your cutting machine. Load the mat into the Cricut with a clean Fine-Point Blade and press the flashing button to start cutting.
Once the cutting is complete, you can move on to sublimating your coasters using the appropriate settings for each material. Remember to follow the recommended temperatures and press times for the best results.
Sublimating MDF Coasters
After cutting your coaster designs, you can now move on to sublimating your MDF coasters for a vibrant and durable finish. Here are five steps to guide you through the sublimation process:
- Set your EasyPress temperature to 390°F and time to 50 seconds.
- Remove the protective film and lint roll the coaster to ensure a clean surface.
- Cover the MDF coaster blank with white cardstock for better color transfer.
- Preheat the coaster for 5 seconds to prepare it for the sublimation process.
- Place the sublimation print face down on the coaster, tape the edges, and secure it with heat-resistant tape.
Sublimating Neoprene Coasters
For sublimating neoprene coasters, you can follow these steps to achieve vibrant and professional results.
- Start by setting your EasyPress temperature to 385°F and time to 40 seconds.
- Lint roll the coaster and cover it with white cardstock.
- Preheat the coaster for 10 seconds.
- Next, place the sublimation print face down on the coaster, tape the edges, and secure with heat-resistant tape.
- Now, it’s time to press the coaster with your EasyPress.
- After the pressing is complete, remove the blowout paper, tape, and printed sheet to reveal the design.
Frequently Asked Questions
Can I Use a Regular Printer Instead of a Sublimation Printer for Printing Coaster Designs?
Yes, you can use a regular printer instead of a sublimation printer for printing coaster designs. However, the colors may not be as vibrant and the design may not last as long.
How Do I Clean and Maintain the Sublimated Coasters?
To clean and maintain sublimated coasters, wipe them gently with a damp cloth or sponge. Avoid using abrasive cleaners or scrubbing too hard. Dry them thoroughly before using or storing to prevent any damage.
Can I Sublimate Coasters Made of Other Materials, Such as Wood or Glass?
Yes, you can sublimate coasters made of wood or glass. Make sure to use sublimation-friendly materials and adjust the temperature and time settings accordingly. Follow the instructions in the Ultimate Guide for best results.
Are There Any Specific Design Requirements for Sublimating Coasters?
There are no specific design requirements for sublimating coasters, but it’s important to resize your designs to fit the coaster blanks and use heat-resistant tape to secure them.
Can I Use a Regular Iron Instead of a Heat Press for Sublimating Coasters?
No, you cannot use a regular iron instead of a heat press for sublimating coasters. A heat press provides even heat and pressure, ensuring the best sublimation results.
Finally
Sublimating coasters is a fantastic way to add a personal touch to your home decor or create unique gifts. With the right materials and tools, such as MDF and neoprene coasters, and the necessary equipment like a sublimation printer and heat press, you can achieve stunning results.
By following the step-by-step instructions and implementing the tips provided in this guide, you can unleash your creativity and create professional-looking sublimated coasters.
Elevate your home decor and gift-giving game with this exciting sublimation technique.


