Revamp Your Cricut Crafting With These Genius Hacks
Are you ready to take your Cricut crafting to new heights with these Cricut Genius Hacks?
It’s time to unlock the full potential of your Cricut machine with these genius hacks.
Imagine a world where your cuts are flawless, your materials are easily removed from the mat, and your crafting process is organized and efficient. Well, that world is within your reach.
In this article, we will reveal a treasure trove of tips and tricks that will elevate your Cricut crafting experience. From clever techniques to improve your cuts to smart ways to clean and organize your tools, we have everything you need to revamp your Cricut crafting.
So, are you ready to discover the secrets that will transform your crafting journey?
Let’s dive in and unlock a whole new level of creativity.
Tools and Materials for Easier Cricut Crafting
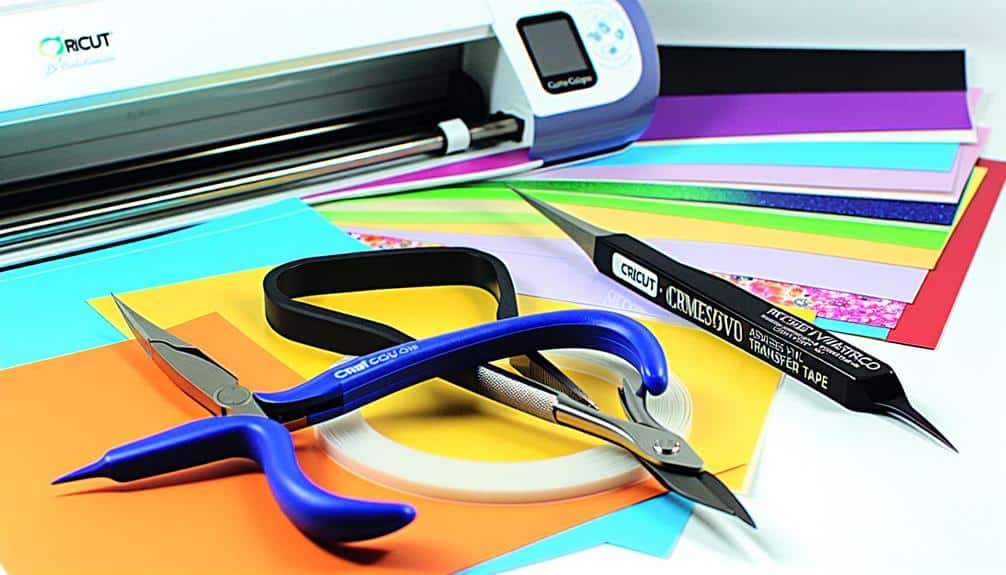
To make your Cricut crafting experience easier, gather the essential tools and materials needed for a smooth and efficient process.
Start by getting aluminum foil, Cricut Scraper XL, a silicone ring for weeding, and baby wipes or wet wipes that are alcohol-free.
Don’t forget to have pink painters tape on hand as well. These tools will help you achieve better cuts and make it easier to remove materials from the mat without damaging them.
For cleaning the cutting mat, use a scraper or a plastic card to remove little bits left behind. You can also clean the mat with baby wipes to keep it sticky.
Finally, make sure to organize your Cricut tools and store your pens tip down.
Tips and Tricks for Better Cuts
Improve the quality of your cuts with these genius hacks.
One tip is to use aluminum foil to clean your blade. Simply poke the blade tip into a tight ball of aluminum foil to remove debris and oxidation. This helps the blade cut better and ensures cleaner cuts.
Another hack is to flip the mat to remove materials without damaging them. Instead of removing the material from the mat, gently bend the mat up and away from the material to easily release it.
For cleaning the cutting mat, use a scraper or card to remove little bits left behind. Additionally, clean the mat with non-alcohol-based baby wipes to remove dirt and retain stickiness.
Implement these tips and tricks for better cuts in your Cricut crafting projects.
Tips for Removing Materials From the Mat
When removing materials from the mat, try flipping the mat over to easily release the materials without causing any damage. Instead of removing the material from the mat, remove the mat from the material.
Flip the cutting mat face down on your work surface and gently bend it up and away from the material. By doing this, the material will spring right off the mat, making the process quick and effortless.
This method prevents any tearing or stretching of the materials, ensuring that they stay intact and ready for your next project. Implementing this tip takes less than a minute and can save you the frustration of trying to peel off materials from the mat without damaging them.
Tips for Cleaning the Cutting Mat
When it comes to maintaining the longevity and stickiness of your cutting mat, proper cleaning is essential. Here are four tips to help you keep your cutting mat in top shape:
- Scraper or Card: Use a scraper or a plastic card to remove any little bits left behind on the cutting mat. This will ensure that your mat remains clean and ready for your next project.
- Baby Wipes: Wipe down the cutting mat with non-alcohol-based baby wipes. The gentle circular motion will help remove dirt and fibers, while allowing the mat to retain its stickiness. Let the mat dry for about 10 minutes before using it again.
- Pink Painters Tape: Use pink painters tape to clean your mat. Simply apply the tape to the mat, press down, and then lift it up. The tape will remove any debris that may be stuck to the mat.
- Cleaning Solution: If your cutting mat needs a deeper clean, you can use a mild cleaning solution. Mix a small amount of dish soap with water, then use a soft cloth or sponge to gently scrub the mat. Rinse thoroughly and allow it to dry completely before using it again.
Tips for Organizing Cricut Tools
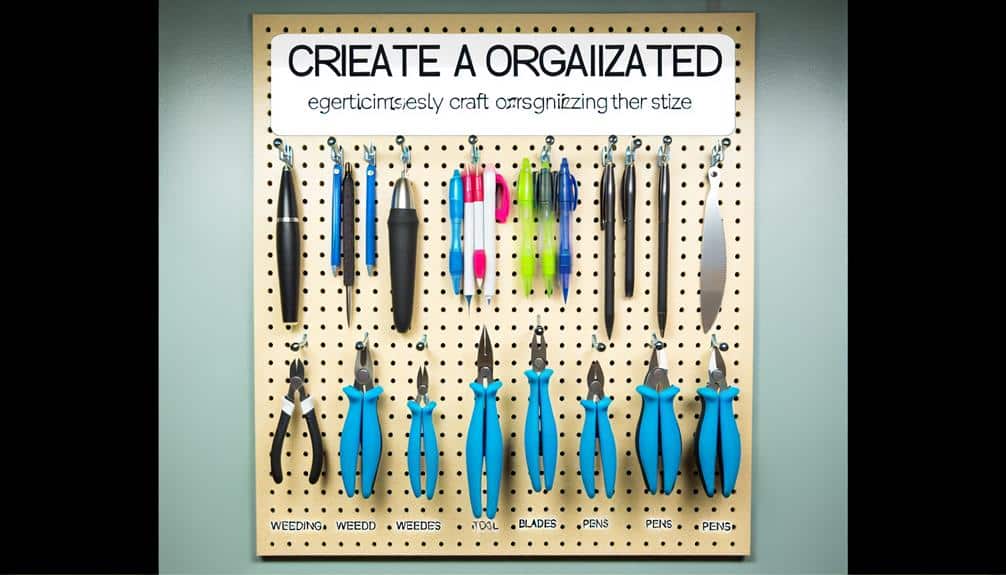
To keep your Cricut tools organized and easily accessible, consider using one of these clever storage solutions.
Keep all your Cricut tools together in one place by using the accessory cups in your Cricut or the flip-up compartment on your Cricut drawer.
Another option is to put your tools on a pegboard near your Cricut for quick and easy access.
If you’re feeling crafty, you can make a Cricut tool bench or use a 3D printed tool holder to keep everything in order.
Whichever storage solution you choose, having your Cricut tools organized will save you time and frustration when you’re in the middle of a crafting project.
Tips for Storing Cricut Pens
For a convenient and efficient way to store your Cricut pens, make sure to store them with the tip down. This will keep the ink near the tip and ready to use, while also avoiding or reducing any issues with the pens not writing.
Here are four genius hacks to help you store your Cricut pens:
- Use an accessory cup: Place your pens in an accessory cup designed for your Cricut machine. This keeps them organized and easily accessible while protecting the tips.
- Invest in a tool holder: Consider a tool holder specifically designed to hold your Cricut pens. This allows you to store them vertically, ensuring the ink stays near the tip and reducing the risk of drying out.
- Get a pen storage case: Look for a pen storage case that’s specifically designed for Cricut pens. These cases often have individual slots to securely hold each pen and protect them from damage.
- Repurpose a pencil case: If you’re looking for a budget-friendly option, repurpose a pencil case to store your Cricut pens. This keeps them organized and easily transportable, so you can take your crafting supplies on the go.
Implement these hacks to keep your Cricut pens in optimal condition and ready for your next crafting project.
Tips for Cutting Delicate Materials
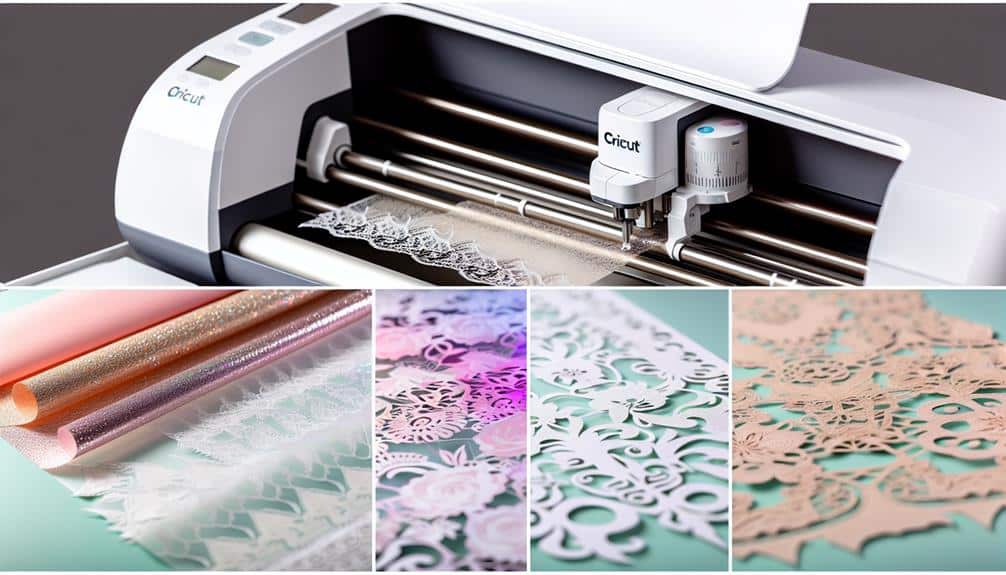
If you’ve mastered the art of storing your Cricut pens, it’s time to move on to the next step: mastering the art of cutting delicate materials.
When working with delicate materials like vellum and tissue paper, it’s important to use a LightGrip mat. The LightGrip mat provides just the right amount of grip to prevent tearing and avoids damage to the delicate materials during cutting.
You can find LightGrip mats on the Cricut website, at craft stores, or on Amazon. Simply swap out your regular mat for the LightGrip mat before cutting delicate materials.
This small adjustment will ensure that your cuts are clean and precise, giving your projects that professional touch.
Cricut Genius Hacks and Tips for Cutting Fabric
When cutting fabric with your Cricut machine, make sure to use fabric weights to hold the fabric in place on the mat. This will prevent the fabric from shifting during cutting and ensure accurate cuts on your fabric projects.
Here are four tips to help you cut fabric with ease:
- Choose the right blade: Use a rotary blade specifically designed for cutting fabric. This blade is sharper and can handle the delicate nature of fabrics, resulting in clean and precise cuts.
- Stabilize your fabric: Before placing your fabric on the mat, apply a stabilizer to the back of the fabric. This will prevent fraying and ensure that the fabric stays in place during the cutting process.
- Use a fabric pen: Consider using a washable fabric pen to mark your cutting lines on the fabric. This will help you align your design correctly and ensure accurate cuts.
- Test your settings: Before cutting your entire fabric piece, always do a test cut on a small scrap of fabric. This will allow you to adjust the blade depth, pressure, and speed settings to achieve the best results.
Tips for Cleaning the Cricut Machine
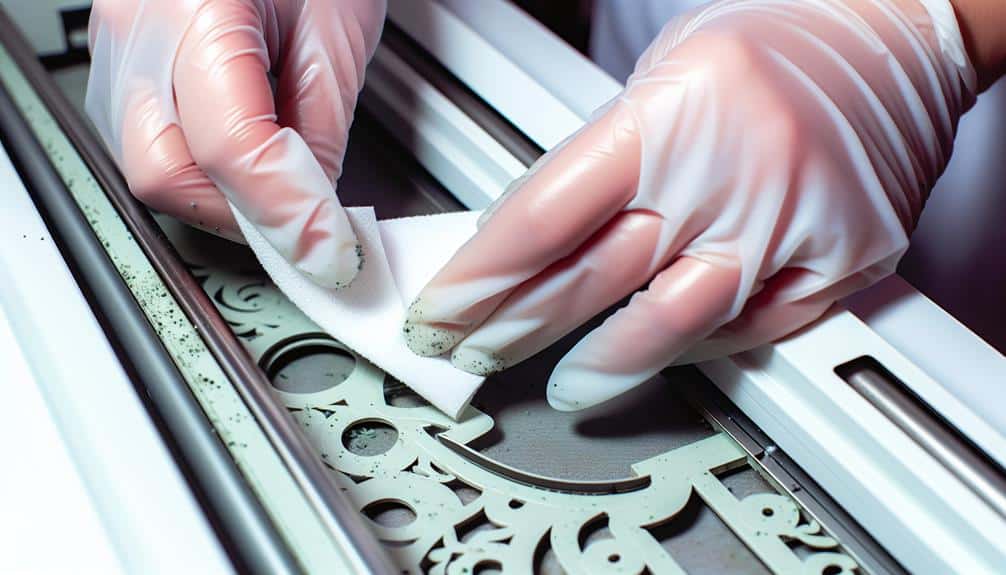
To keep your Cricut machine running smoothly, regularly clean it with compressed air to remove dust and debris. This will help maintain optimal performance and ensure that your machine operates at its best.
You can use the compressed air on the blades, rollers, and other parts of the machine that may accumulate dust and debris over time. Simply spray the compressed air as needed for cleaning, making sure to target the areas where buildup is most likely to occur.
Tips for Organizing Cutting Mats
Regularly cleaning your Cricut machine with compressed air is just one step in maintaining optimal performance. Now, let’s explore some genius hacks for organizing your cutting mats to ensure easy access and prevent any damage.
- Use Command Wire Hooks for Hanging Mats: Install wire hooks on your craft room wall or cabinet to hang your cutting mats. This keeps them organized and easily accessible, preventing them from getting bent or damaged.
- Invest in a Cutting Mat Storage Rack: Purchase a storage rack specifically designed to hold your cutting mats. This will keep them neatly organized and protected when not in use.
- Label Your Cutting Mats: Use labels or color-coded stickers to identify the different types of cutting mats you have. This makes it easier to grab the right mat for your project and saves time searching through a stack of mats.
- Store Mats Vertically: Instead of stacking your cutting mats horizontally, store them vertically in a magazine holder or file organizer. This not only saves space but also makes it easier to see and access each mat.
Cricut Genius Hacks Frequently Asked Questions
How Do I Store My Cricut Pens to Prevent Them From Drying Out?
To prevent your Cricut pens from drying out, store them with the tip down. This keeps the ink near the tip and ready to use. You can store them in an accessory cup, tool holder, or pen storage.
What Is the Best Way to Clean My Cricut Machine to Maintain Optimal Performance?
To clean your Cricut machine for optimal performance, use compressed air to remove dust and debris. Simply spray the compressed air on the blades, rollers, and other parts as needed.
Are There Any Tips for Cutting Delicate Materials Without Tearing Them?
To cut delicate materials without tearing them, use a LightGrip mat. It provides the right amount of grip to prevent damage. Swap out the mat before cutting and get it from the Cricut website or craft stores.
How Can I Organize My Cutting Mats to Keep Them Easily Accessible and Undamaged?
To organize your cutting mats, use Command wire hooks to hang them. This keeps them easily accessible and avoids bending or damaging them. You can find Command wire hooks at hardware stores, home improvement stores, or Amazon.
Can Contact Paper Be Used as a Stencil for Cricut Projects?
Yes, contact paper can be used as a stencil for Cricut projects. It provides a temporary adhesive surface and can be easily removed without damaging the project. You can find contact paper at craft stores or Amazon.
Cricut Genius Hacks
These genius hacks will take your Cricut crafting to the next level.
With tips for better cuts, removing materials from the mat, cleaning and organizing, cutting delicate materials and fabric, and cleaning the machine, you’ll have everything you need to enhance your crafting experience.
So grab your Cricut tools and get ready to explore a whole new world of possibilities!
