Top 5 Things Sublimation Beginners Should Avoid When Starting Out
[videojs youtube=”http://www.youtube.com/watch?v=Wz0iP_GyR6E”]
Learn more about sublimation at https://jennifermaker.com/sublimation-for-beginners
Sublimation Items Shown in this Video (contains my affiliate links):
* Sublimation Printer – I used my Epson ET-4700 – https://amzn.to/3bbDker
* Sublimation Ink – https://amzn.to/3PnLMqw
* Sublimation Paper – https://amzn.to/3cuLSxW
* Blue Heat-Resistant Tape – https://amzn.to/3ARVhsR
* Cricut EasyPress 3 – https://amzn.to/3iYQEqn
* White Uncoated Butcher Paper (not parchment paper)
* White Cardstock 12″ x 12″ for protective paper
* Sublimation Blank Door Hanger, 10″ – https://amzn.to/3f7C51U
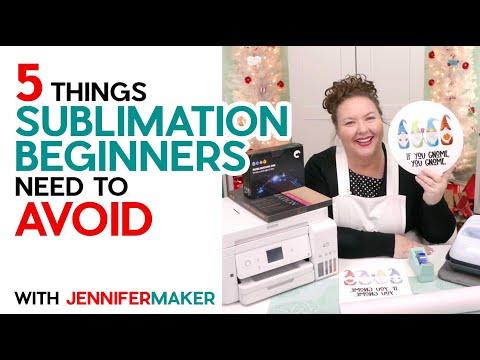
Sublimation is a really fun and useful crafting technique that creates vibrant, full-color objects, such as shirts, mugs, tumblers, signs, and so much more. It’s trending up, and more and more people are getting interested in it. Which is wonderful! So this seems like a great time to talk about sublimation tips for beginners … specifically, what I think sublimation beginners need to AVOID when they are just getting started.
And I’m going to keep this simple, so I don’t overwhelm you. I have five important tips for anyone who is thinking about starting in sublimation, or is still a beginner.
1. PRINTS
First, don’t judge your project before you press it. Sublimation prints don’t reflect the true colors on paper. You need to press it and transfer the colors to your surface before you can truly see what it will look like. I’ll show you with our gnome designs and signs.
2. SURFACES
Second, avoid cotton and unusual surfaces when you’re new. Stick to 100% polyester and sublimation blanks. The best thing you can get as a beginner is a few yards of 100% white polyester. You can do TONS of tests with it and really get to understand how sublimation works. If you have your heart set on a particular kind of sublimation and don’t really care about the rest, get quality sublimation blanks rather than try any of the hacks to get a sublimation surface onto a non-sublimation item. For example, with our wood signs, go for the sublimation blank rather than try to put polycrylic onto a piece of wood.
3. ACCESSORIES
Third, understand that you do NOT need every press or accessory before you start. Pick just one and practice for a while. A Cricut EasyPress 2 or 3 is a good choice, as you can do a lot of projects with them. Other things you need are a sublimation printer, sublimation ink, sublimation paper, white uncoated butcher paper, and heat resistant tape. Everything else is extra and you can get it later if you want. Even a sublimation printer and ink is optional in the beginning, because you can order sublimation prints from Etsy if you’re just trying it out!
4. TEFLON
Fourth, don’t use a Teflon sheet on top of your sublimation print when you press, like you might use with iron on vinyl. It traps moisture, which can lead to blurry prints. Also, some of your sublimation ink may migrate onto the Teflon sheet, and then it’s there everytime you go to press again, which means it can mess up future presses. Instead, use white uncoated butcher paper. Get yourself a big roll of it, like this, so you feel good using a new sheet each time you press.
5. YELLOW TAPE
Use blue tape, not yellow or green tape. Not all heat resistant tape is appropriate for sublimation — some were intended for heat transfer vinyl, and will actually transfer their colors to your surface if they get too hot. I recommend the blue tapes, as I haven’t seen any of them do that. I use Cricut heat-resistant tape. AND, I also recommend that you always use that tape. It’s SO important that your sublimation print not move around when you lift your press up, because if it does it WILL mess up your design with blurring. The sublimation process is still going on when you stop pressing, so you must keep your print tight against your surface while it cools down. So tape, tape, tape!
============
Follow me at:
Blog: https://jennifermaker.com
Facebook Page: https://www.facebook.com/jennifermakercrafts
Facebook Group: https://www.facebook.com/groups/cricutcraftersandmakers/
Instagram: https://www.instagram.com/jennifer.maker
Pinterest: https://www.pinterest.com/jenuinemom
Please subscribe to my channel at https://www.youtube.com/c/jennifermaker for more video tutorials to craft a life you love!
Credits:
Introduction: PixelBytes (my child!)
Music: Cute by Bensound (licensed, royalty and copyright free)
Videography: Jennifer Marx on a Panasonic Lumix FZ-1000 DSLR 4K camera
Design: A Jennifer Maker original!
