How to Make a Stencil With Cricut
Make a Stencil With Cricut
You maybe think about How to Make a Stencil With Cricut? Stenciling is an art form that allows you to craft a handcrafted finish on any surface: wood, walls, furniture, fabric, paper – the possibilities are endless! Not only is it fun and rewarding but also highly sought-after by many professionals.
If you are new to stenciling, start with a straightforward design that can be used over and over again. That way, you won’t have to spend money on store-bought stencils every time you want a fresh look for your projects!

What is a Stencil?
Stenciling with your Cricut machine is an enjoyable and creative way to transform blank canvases into unique home decor pieces. You have several materials at your disposal for making stencils, such as Cricut Stencil Vinyl, regular removable vinyl, mylar stencil film sheets and more.
Cricut Stencil Vinyl is one of the most popular choices for stenciling, offering a thicker and stronger vinyl that’s repositionable and reusable like regular vinyl but doesn’t stretch or warp – perfect for stenciling wood, fabric, canvas and more.
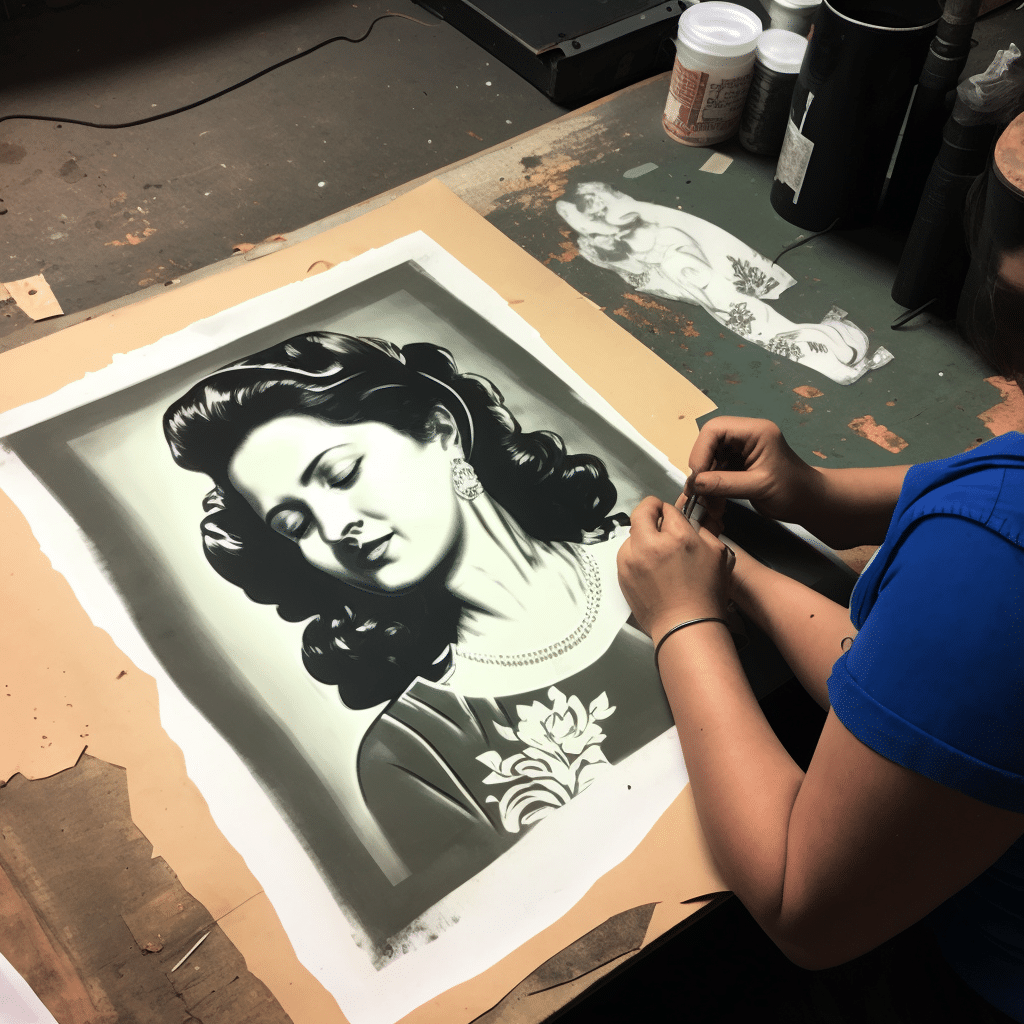
Once your stencil design is cut, remove it from its paper backing and stick the sticky side down onto your project. Be mindful that getting Stencil Vinyl to release from its transfer paper may take more effort than with standard vinyl; so proceed with caution! If any unwanted elements remain attached to your stencil after cutting, simply punch them out using a weeding tool for removal.
Make a Stencil With Cricut – Stencil Materials
Stencils are an enjoyable, versatile way to add color and texture to any project. From decorating pillowcases and painting wooden signs, to crafting unique birthday decorations with stencils – there’s no limit to what you can create when using these handy tools! Stencils make great additions to any crafter’s toolbox!
Before purchasing stencil material, there are a few things you should take into account. First, decide if you only need it once or want to make it reusable.
Second, consider the size and type of design you wish to achieve. Some stencil materials are ideal for smaller jobs while others can accommodate a larger undertaking.
Finally, select a stencil file that works perfectly with your Cricut machine and the project you are creating. Some SVG files are ideal for reusable stencils while others can be utilized only once.
Stencil Techniques
Stenciling is an enjoyable and simple way to add unique handcrafted details on any surface – walls, floors, furniture, woodworking projects, paper crafts and fabric!
Another advantage of stencils is that they’re reusable, saving you money in the long run. Furthermore, stencils offer an opportunity to upcycle or personalize old pieces of furniture while saving you money in the process.
Create your own stencil to paint on wood signs! With so many uses for stencils, they should be part of every crafter’s toolbox.
Cricut machines are the ideal tool to craft beautiful stencils with your design. Not only does it take the hassle out of cutting, but you’ll end up with a professional-looking stencil for each project.
When creating a stencil with the Cricut, try to keep the cutouts as close together as possible. This will assist in aligning them when you apply paint.
Make a Stencil With Cricut – Stencil Cleaning
Stenciling is an excellent way to add a unique design touch to any surface. You can stencil on fabrics, wood, canvas and even metal!
Once you are ready to stencil, start by cleaning your surface. Mild soap and water should do the trick; however, spray cleaners can also be used if necessary.
Next, use a stipple brush or sponge dauber to apply paint. Begin at the edges of the stencil and work your way towards its center using an up-and-down motion (tap tap tap).
Before taking off the stencil, always offload any remaining paint onto a paper towel or rag. Doing this prevents it from smearing or dripping when lifted away from its surface.
Once the paint has dried, carefully place your stencil back onto the surface. This step is critical as smeared stencils won’t hold their shape properly and could ultimately ruin your project.
5 tips for making a stencil with a Cricut
- Choose the right material: The material you use for your stencil will depend on what surface you’re planning to stencil. Some popular stencil materials include adhesive vinyl, stencil film, or even cardstock if you’re working on a temporary project. Make sure you choose a material that can withstand the type of paint or ink you’ll be using.
- Adjust the blade: Before you start cutting your stencil, make sure the blade is set to the correct depth for the material you’re using. You can adjust the blade by turning the dial on the machine or by manually adjusting it with the tools provided.
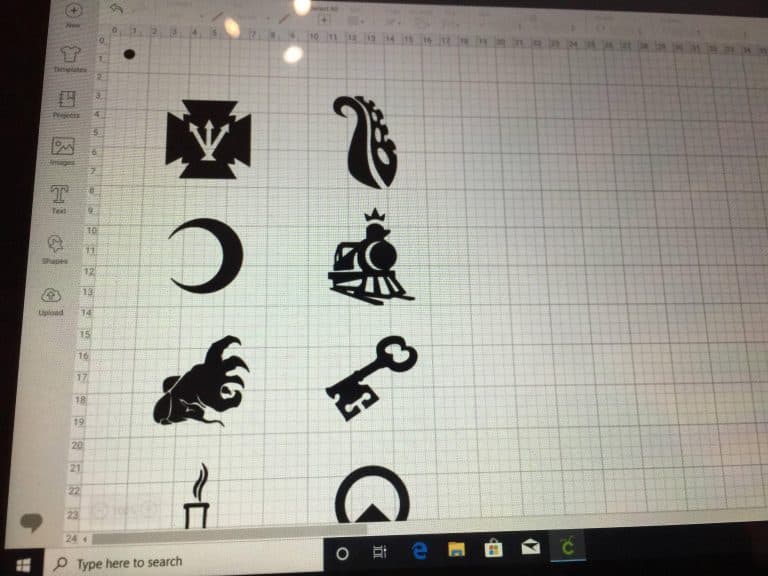
- Design your stencil: You can create your stencil design using Cricut’s Design Space software or by importing a design from another program. Make sure to choose a design with clear, defined lines to ensure that your stencil will come out cleanly.
- Test your stencil: Once your design is loaded into the Cricut, you can do a test cut on a small piece of material to make sure everything is working correctly. This will help you avoid any mistakes or wasted materials.
- Weed the stencil: After cutting out your stencil, you’ll need to weed away the excess material so that only the stencil design remains. Use a weeding tool to carefully remove the unwanted pieces, taking care not to damage the stencil itself.


