How to Make a Stencil With Cricut

Make a Stencil With Cricut
Do you want to know How to Make a Stencil With Cricut? Stencils are essential crafting tools for anyone wanting to create handmade cards or paper crafts. There is a wide variety of sizes and shapes to choose from, as well as paints, ink sprays or embossing pastes that you can use with them.
Selecting the ideal stencil for your project is essential. Utilizing either an overly small or excessively large stencil can lead to disastrous results.
Size
When creating a Cricut stencil, size is an important factor to take into account. Make sure your stencil is large enough to cover all areas required for your project.
Cricut makes cutting materials like stencil vinyl, acetate, freezer paper, and mylar sheets a breeze. These can be utilized for an array of projects from home decor to art supplies.
To create a stencil from your cartridge, choose an image to use from the collection. Depending on your machine, you may have to trim the plastic so it fits within its mat–which typically measures 6 inches by 12 inches for traditional Cricut machines and 12 inches by 24 inches for Expression models.
How to Make a Stencil With Cricut – Materials
Stencils are an enjoyable and simple way to add color and personality to your DIY projects. They come in various materials, so the type you select will depend on what the job requires.
Removable vinyl and freezer paper make excellent stencil materials due to their ease of use, ability to adhere firmly to the base layer, and potential for reuse.
Mylar is an ideal stencil material, especially for reusable designs. Not only is it more cost-effective than vinyl, but it cuts easily too, offering greater durability compared to removable vinyl.
Another excellent stencil material is clear stencil vinyl. This material can be applied to wood, canvas, plastic and more and features an adhesive back that prevents it from shifting or bleeding while you transfer the design.
Techniques
Cricut machines make the process of stenciling for paint or decorative items much simpler than ever before. You can cut stencil designs from various materials such as Cricut Stencil Vinyl, regular removable vinyl, and mylar stencil film sheets.
Cardstock is another material suitable for stencils, however it’s not as durable or reusable as other materials. Therefore, cardstock should only be used once.
Cricut Stencil Vinyl is the ideal material for stencils due to its thickness and durability, as well as being repositionable. As long as your design doesn’t contain intricate shapes or non-connected elements, repositioning the vinyl multiple times without fear of tears or loss of stickiness should be easy.
To use a stencil, place it over the area you wish to decorate and apply paint or other craft material. Once dry, carefully peel away the stencil and dispose of in a trash can.
How to Make a Stencil With Cricut – Tools
Cricut machines are an excellent tool for creating stencils. However, even without one you can still craft beautiful designs using a printer or drawing program.
Before you begin, you’ll need an image of the design you wish to create. Use a picture book, an old drawing or anything else with simple patterns as inspiration.
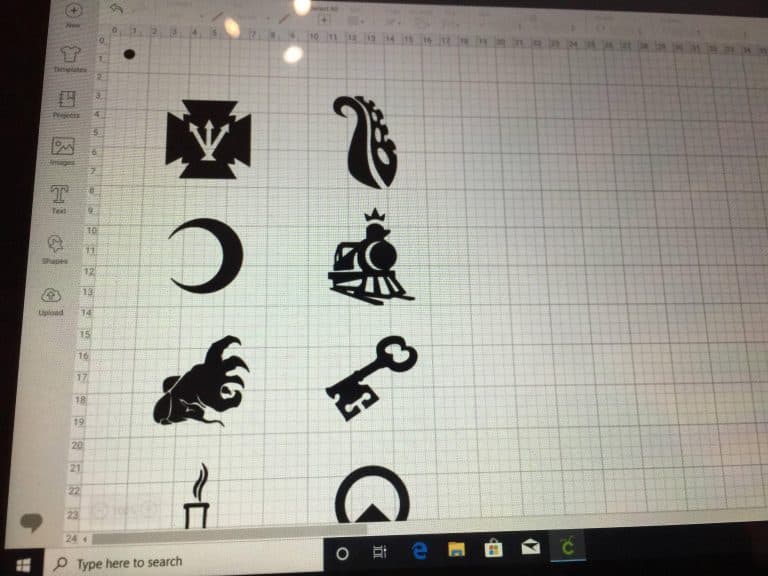
Next, open Cricut Design Space and upload the image to your project canvas. You have two options: download from the library or upload an SVG file from your computer.
Once your image has been uploaded, you’ll need to cut it out with either a Cricut Maker or Precision Knife (X-Acto knife works too). To test your design, create a stencil on paper and check that all lines are connected and nothing is missing.
Place your stencil material on either a LightGrip or StandardGrip Cricut cutting mat. Depending on your design, you may need to adjust the size of the stencil so it fits correctly.


