Cricut Stencil Making

Cricut Stencil Making
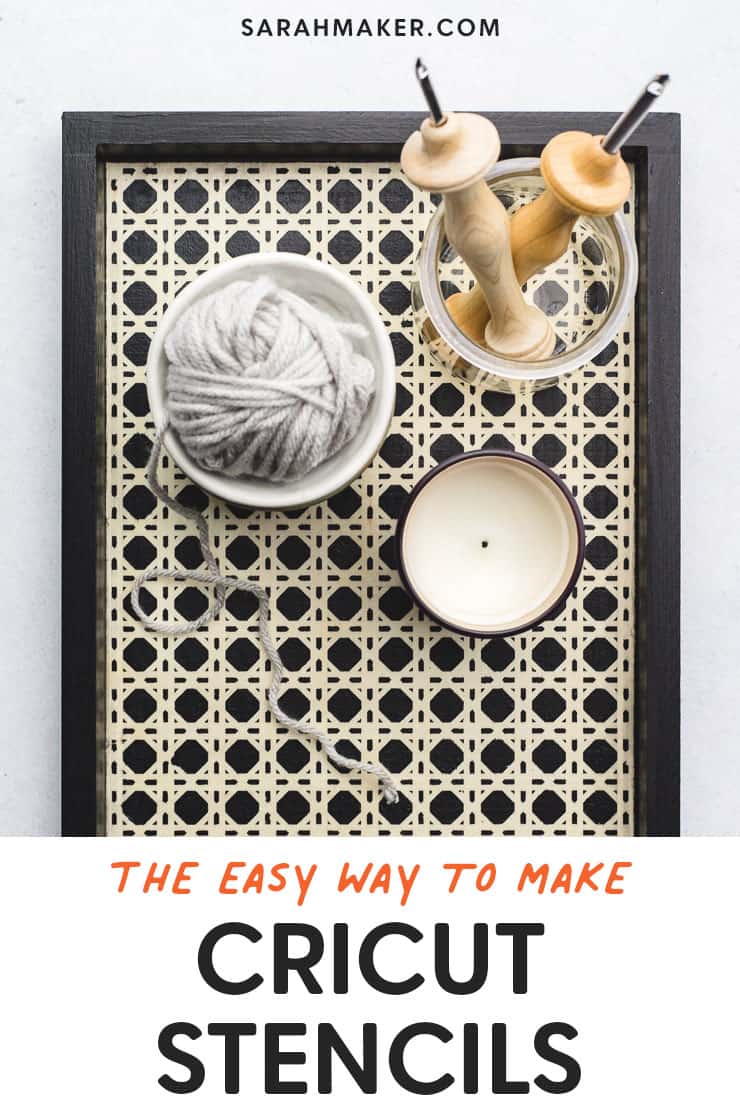
Cricut Stencil Making is an excellent way to add a personal touch and create beautiful wall art with ease. No matter if you need DIY stencils for walls, fabric or wood. By using your Cricut machine makes creating the ideal design a breeze!
The initial step in your project is selecting the material. You have several options to choose from, such as removable vinyl, mylar sheets and freezer paper.
Material
When selecting material for creating stencils with your Cricut machine, you must consider what kind of design or image you want to use and if it needs to be self-adhesive. Furthermore, consider whether the material will rip or stretch when removed.
Stencil making with a Cricut is most often done using Stencil Vinyl, Mylar and Poster Board. All three materials have an adhesive back and can be used on paper, fabric, canvas, wood, plastic and more for intricate stencil designs.
To create a stencil with the Cricut, you need to upload an SVG file. You can either grab free files from the Cricut Library or create your own using Design Space’s SVG file tools.
Design
Stencils are an excellent way to add style and personality to your craft projects! With your Cricut machine, they’re easy to make on various surfaces such as wood, fabric, or canvas.
For optimal results, select stencil material that perfectly complements your project. Adhesive sheets for one-time use – such as decorating a pillowcase – or non-adhesive stencil material. These can be used to create long stencils for signs and other larger craft tasks.
When designing your stencil, keep in mind that all design elements must be connected to prevent any floating parts that could hinder cutting. This is especially critical if you plan to reuse your stencil as each piece needs to be attached together using transfer tape for each use.
Cricut Stencil Making – Measurement
When creating your stencil with the Cricut machine, there are several measurements to take. These will determine the size of your stencil, how much material needs cutting and what tools you’ll require.
Before beginning to stencil, it is important to measure the area that will be covered with your design. This will determine its scale and how many words or shapes need to be included in your stencil.
Once your measurements are taken, place the paper or vinyl onto a Cricut mat and press down on its sticky side to secure it to the material. Next, rub your hand over the surface again to confirm adhesion.
Once the stencil material is loaded into your Cricut machine, refer to the Stencil Vinyl Kiss Cut Guide below for proper settings (a kiss cut goes through the vinyl of a stencil but leaves its liner intact).
Cricut Stencil Making – Cutting
Stencils are an excellent tool for creating designs you can paint or stain over. They work on a variety of materials such as fabric, wood, canvas and paper.
If you want to use your Cricut machine to craft stencils, select a design that cuts well and works with whatever material you have available. You can find pre-made stencil files online for sale or free downloads in the Cricut Design Space.
For stencils, the ideal SVG file to use is one with a positive aspect that’s composed of one continuous piece (above/below left). This will enable you to apply the entire design without using transfer paper, making the stencil reusable.
You can also make stencils with a sheet of stencil film, which is an adhesive mylar that you cut into shapes with your Cricut machine. This option works great if you need to stencil smaller or tighter areas.
