Cricut Print Then Cut SECRETS, Tips, & Tricks for Better Projects!
[videojs youtube=”http://www.youtube.com/watch?v=QEgMxkh8Ods”]
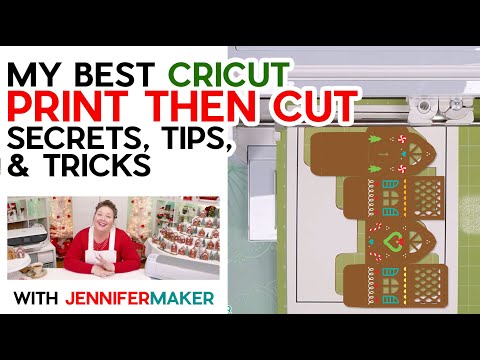
Print Then Cut is a really really cool feature of the Cricut Explore and Maker cutting machines, but so many of you tell me you are intimidated by it. Sometimes this may be because you haven’t tried it yet and it seems complicated, but other times it could be because you did try it and it didn’t quite work the way you expected. So I’d like to share my best tricks and tips for excellent Print Then Cut projects. Because the ability to make fun projects like these Gingerbread Houses is totally worth it!
First, the printer — it’s important you know that you need a printer to do Print Then Cut, as you Cricut doesn’t print on it’s own. This may seem obvious to some, but perhaps not to others, so I wanted to mention it. Cricut recommends we use an inkjet printer, but I’ve found that a laser printer is also okay so long as the material you’re putting in it is appropriate — so don’t put printable vinyl in a laser printer unless it says you can, as the high heat of the printer will hurt the vinyl. Paper is fine though. I prefer to use an inkjet most of the time. I use the HP Envy, but Epson EcoTanks are also a good brand of inkjet printer to use with Cricut Print Then Cut.
Next, printing issues — sometimes the printer has issues feeding the paper you want to cut on a Cricut. If this happens, use the rear feed if you have one. If you don’t have one, try putting just one sheet of paper into your printer at a time, as most feed issues that affect print then cut are the result of the printer’s inability to pick up just one sheet of paper. I also recommend you avoid Cricut’s Sticker Paper (sorry, Cricut) — it’s just too thick for most people’s printers.
Speaking of paper type, you’ll get the best results when it comes to cutting your design if you use matte paper, not glossy paper. The little sensor on your Cricut can have problems reading the registration lines on glossy paper because there can be glare. So if you’re having problems, use matte, non shiny paper. OR, if you absolutely must use that glossy paper, print out two sheets of your designs — one on glossy, one on matte — and then cut out the middle of the matte paper and place it over your glossy paper like a frame, then tape down and cut.
My next tip is to Calibrate your Cricut. This is important for getting good cuts that align with your design — you can learn how to do calibrate over at jennifermaker.com/calibration. Just follow the steps in my video!
I ALSO recommend you check your printer. If you’re having issues with printing and are seeing streaks or inconsistent colors, clean your printheads. You can learn how to clean printheads by checking your printer’s manual or support site.
Now let’s talk about Printer Settings — this is a big one! When you go to print from Cricut Design Space, you’ll have the option to Use System Dialog. Be sure to toggle that option to ON, and then move or minimize the Cricut Design Space window so you can see the system dialog box, as it’s usually BEHIND the Design Space window. Everyone’s dialog box will look a little different, but be sure to change the quality to best or high or maximum, or whatever it says. This makes a HUGE difference in how good your final print looks. Don’t forget to do this. If you do this and your still think your print doesn’t look great, clean those printheads on your printer.
My next tip is lighting. Be sure to pay attention to the lighting in your room. If you have a desk lamp shining on your Cricut, it can cause issues with the sensor’s ability to pick up the registration lines properly. Move the light to improve the lighting. Direct sunlight coming through a window can have the same effect. You may want to experiment with lowering or raising the overall light in your room, too.
If you continue to have issues getting your Cricut to cut your design properly, I have more tips!
First, check your machine mat. Make sure there are no marks or smudges on it that might confuse the sensor.
Then check your sensor light and make sure it is clean. You can sweep it gently with a small, clean dry brush. It’s possible there was something stuck on it, perhaps some glitter or paper, that was interfering with the sensor.
You’ll also want to be sure the sensor light is actually coming on when you try to cut a printed design. If it does not, be sure to contact Cricut Member Care for help.
If your cut is off no matter what you do, check that you’re printing your page properly and are not accidentally shrinking it. Some computers and printers will default to “Fit to Page” or “Shrink to Fit” in the System Dialog box. You want to be sure that is not selected and you’re printing at 100%.
Something else to pay attention to are our registration marks. Be sure they are black, not gray, and not filled with lines. They should be solid black and present at all four points of your design.


